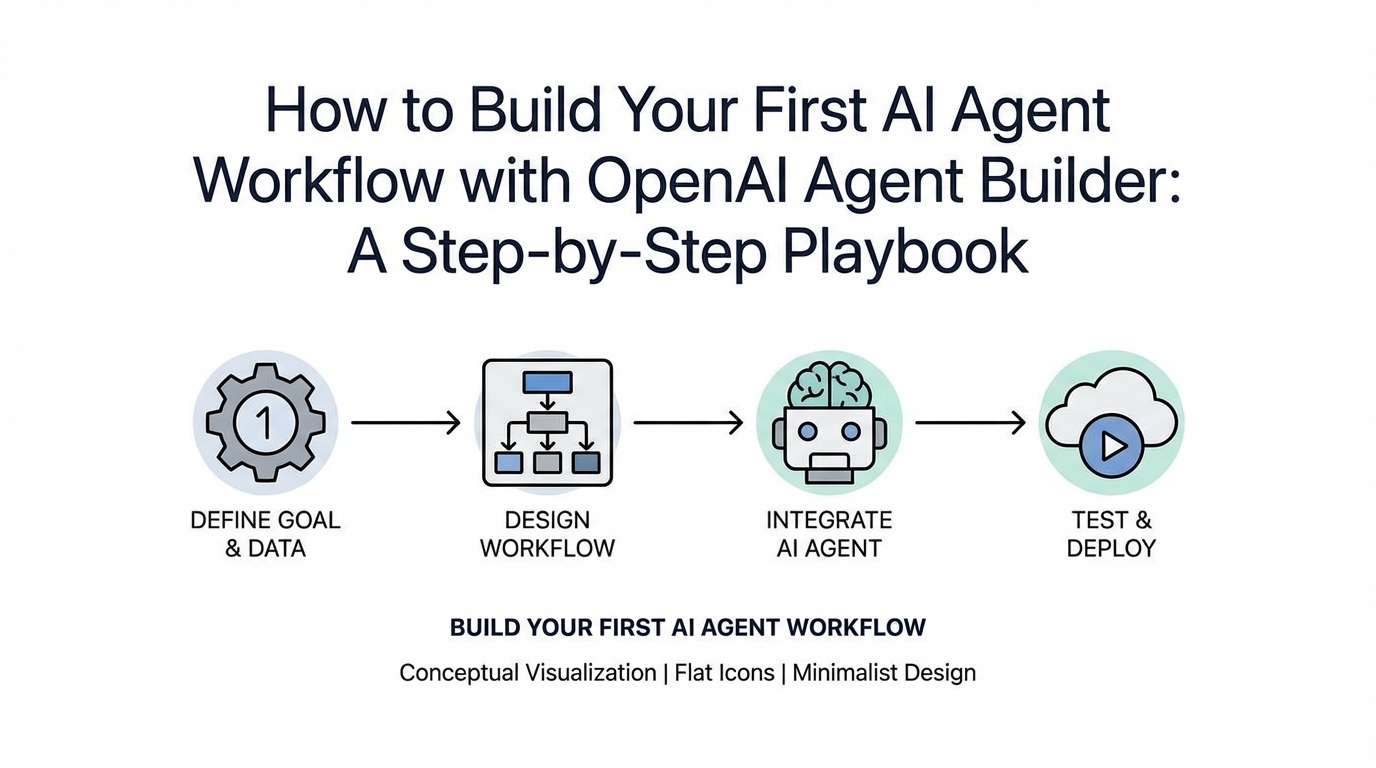
For years, the ability to build sophisticated, multi-agent AI systems was locked behind a wall of complex Python scripts and terminal commands. If you weren't comfortable in a CLI, you were largely a consumer of AI, not a builder. That changed overnight with the release of the OpenAI Agent Builder. This visual interface represents a massive shift in AI fluency, allowing non-technical business owners and product managers to design, test, and deploy autonomous workflows without writing a single line of code. In this playbook, we are going to walk through how to build a robust AI lead qualification system and customer support router from scratch.
The Visual Revolution: Why the OpenAI Agent Builder Changes Everything
Historically, building parallel sequences—where one agent talks to another and passes data—required deep engineering support. The new OpenAI Platform has effectively removed this barrier by introducing a drag-and-drop node interface. This move from the "hardcore technical hood" to a graphical user interface (GUI) is comparable to the jump from MS-DOS to Windows 3.1; it invites the mainstream into the engine room.
By using the Agent Builder, you can now pull data as context from a Vector Store, evaluate responses, and create guardrails for safety and quality visually. For a business, this means your marketing or support teams can iterate on their own automation workflows without waiting for a developer's sprint cycle. This autonomy is the first step toward true multi-agent workflow automation within a growing organization.
Step 1: Building the 'Classifier Agent' for Lead Management
The foundation of any smart workflow is the ability to categorize incoming data. In our lead qualification system, the first node is a Classifier Agent. Its sole job is to determine: "Is this person an existing customer needing help, or a new lead interested in a demo?"
Configuring the Classifier Node
Start by creating a new workflow and adding an Input Node. This text input represents the user's message. Next, connect this to your Classifier Agent. In the instructions, you must be specific. Tell the agent: "Analyze the inquiry and determine if this is an existing customer with a support ticket or a new lead. Analyze the tone and content to reach your conclusion."
Pro-Tip: Use the "Enhance" button in the builder. This uses GPT-4 to refine your prompt into a better-structured format. To ensure accuracy, provide few-shot examples—sample messages of what a lead looks like versus a support request. This improves the agent's reasoning significantly. Once classified, the system uses logic nodes to route the conversation to the specialized sub-agent.
Step 2: Training Sub-Agents with Vector Stores and RAG
Once the message is classified, it needs to go to an agent with the right knowledge. A generic AI won't know your pricing tiers or your technical documentation. This is where Retrieval-Augmented Generation (RAG) and Vector Stores come into play.
The Support Agent Knowledge Base
For the Support Agent, you don't just want it to be polite; you want it to be accurate. You can scrape your company's knowledge base and upload the files directly into a Vector Store within the OpenAI interface. The Support Agent will reference these documents as its primary context. When a customer asks, "How do I integrate this with my website?" the agent searches the vector store first, ensuring the answer is grounded in your actual product specs.
The Lead Qualification Agent
If the Classifier determines the user is a lead, the Sales Agent takes over. This agent is programmed to follow a specific script: ask for the website URL, company name, email, and monthly traffic volume. This structured approach ensures that by the end of the interaction, you have a complete lead profile ready for your CRM. This is a primary use case for AI lead qualification systems where consistency is more important than creative thinking.
Step 3: Configuring Logic and Reasoning Levels
One of the most powerful features in the OpenAI Agent Builder tutorial is the ability to set reasoning levels for each specific agent. You don't always need the "smartest" (and most expensive) model for every task.
- Minimal Reasoning: Use this for simple tasks like the Sales Agent. Asking "What is your email?" doesn't require deep thinking. Minimal reasoning is faster and significantly lowers your token costs.
- High Reasoning: Use this for the Support Agent or the initial Classifier. These nodes need to understand nuance, troubleshoot complex errors, and handle edge cases where the user's intent might be ambiguous.
By balancing these levels, you optimize the workflow for both speed and cost. If you are running high-volume campaigns on Meta Ads Manager or Google Ads, reducing the latency of your lead-capture bot can directly impact your conversion rates.
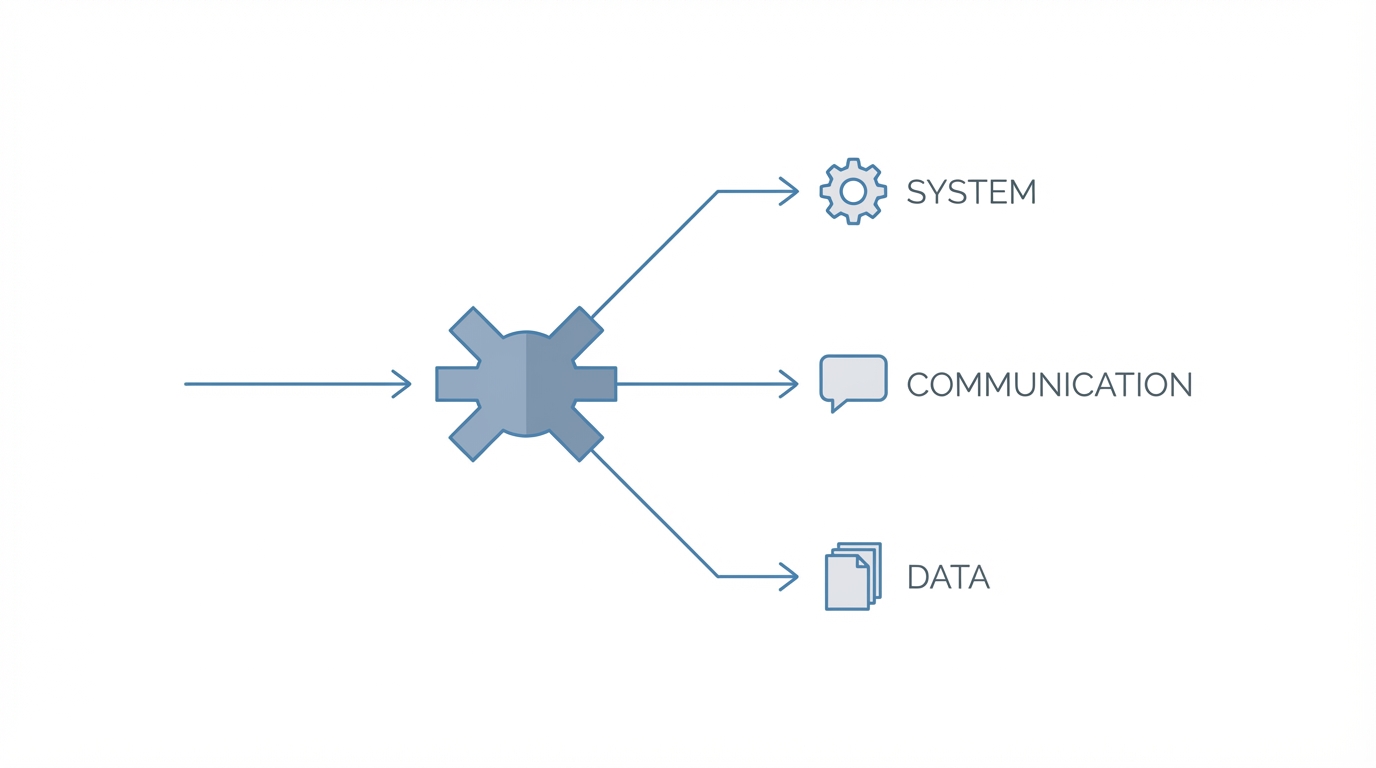
Step 4: Integrating External Tools via MCP
An agent that only talks is just a chatbot; an agent that acts is a team member. This is achieved through the Model Context Protocol (MCP). MCP is a new interface that allows LLMs to interact directly with external tools like Shopify, Slack, or CRMs.
For example, once the Sales Agent captures the lead's data, you can add an MCP node for HubSpot. The agent will automatically push the gathered information—company name, email, and traffic stats—directly into your CRM. You can even set up a Slack notification so your sales team gets an instant alert when a high-value lead is identified.
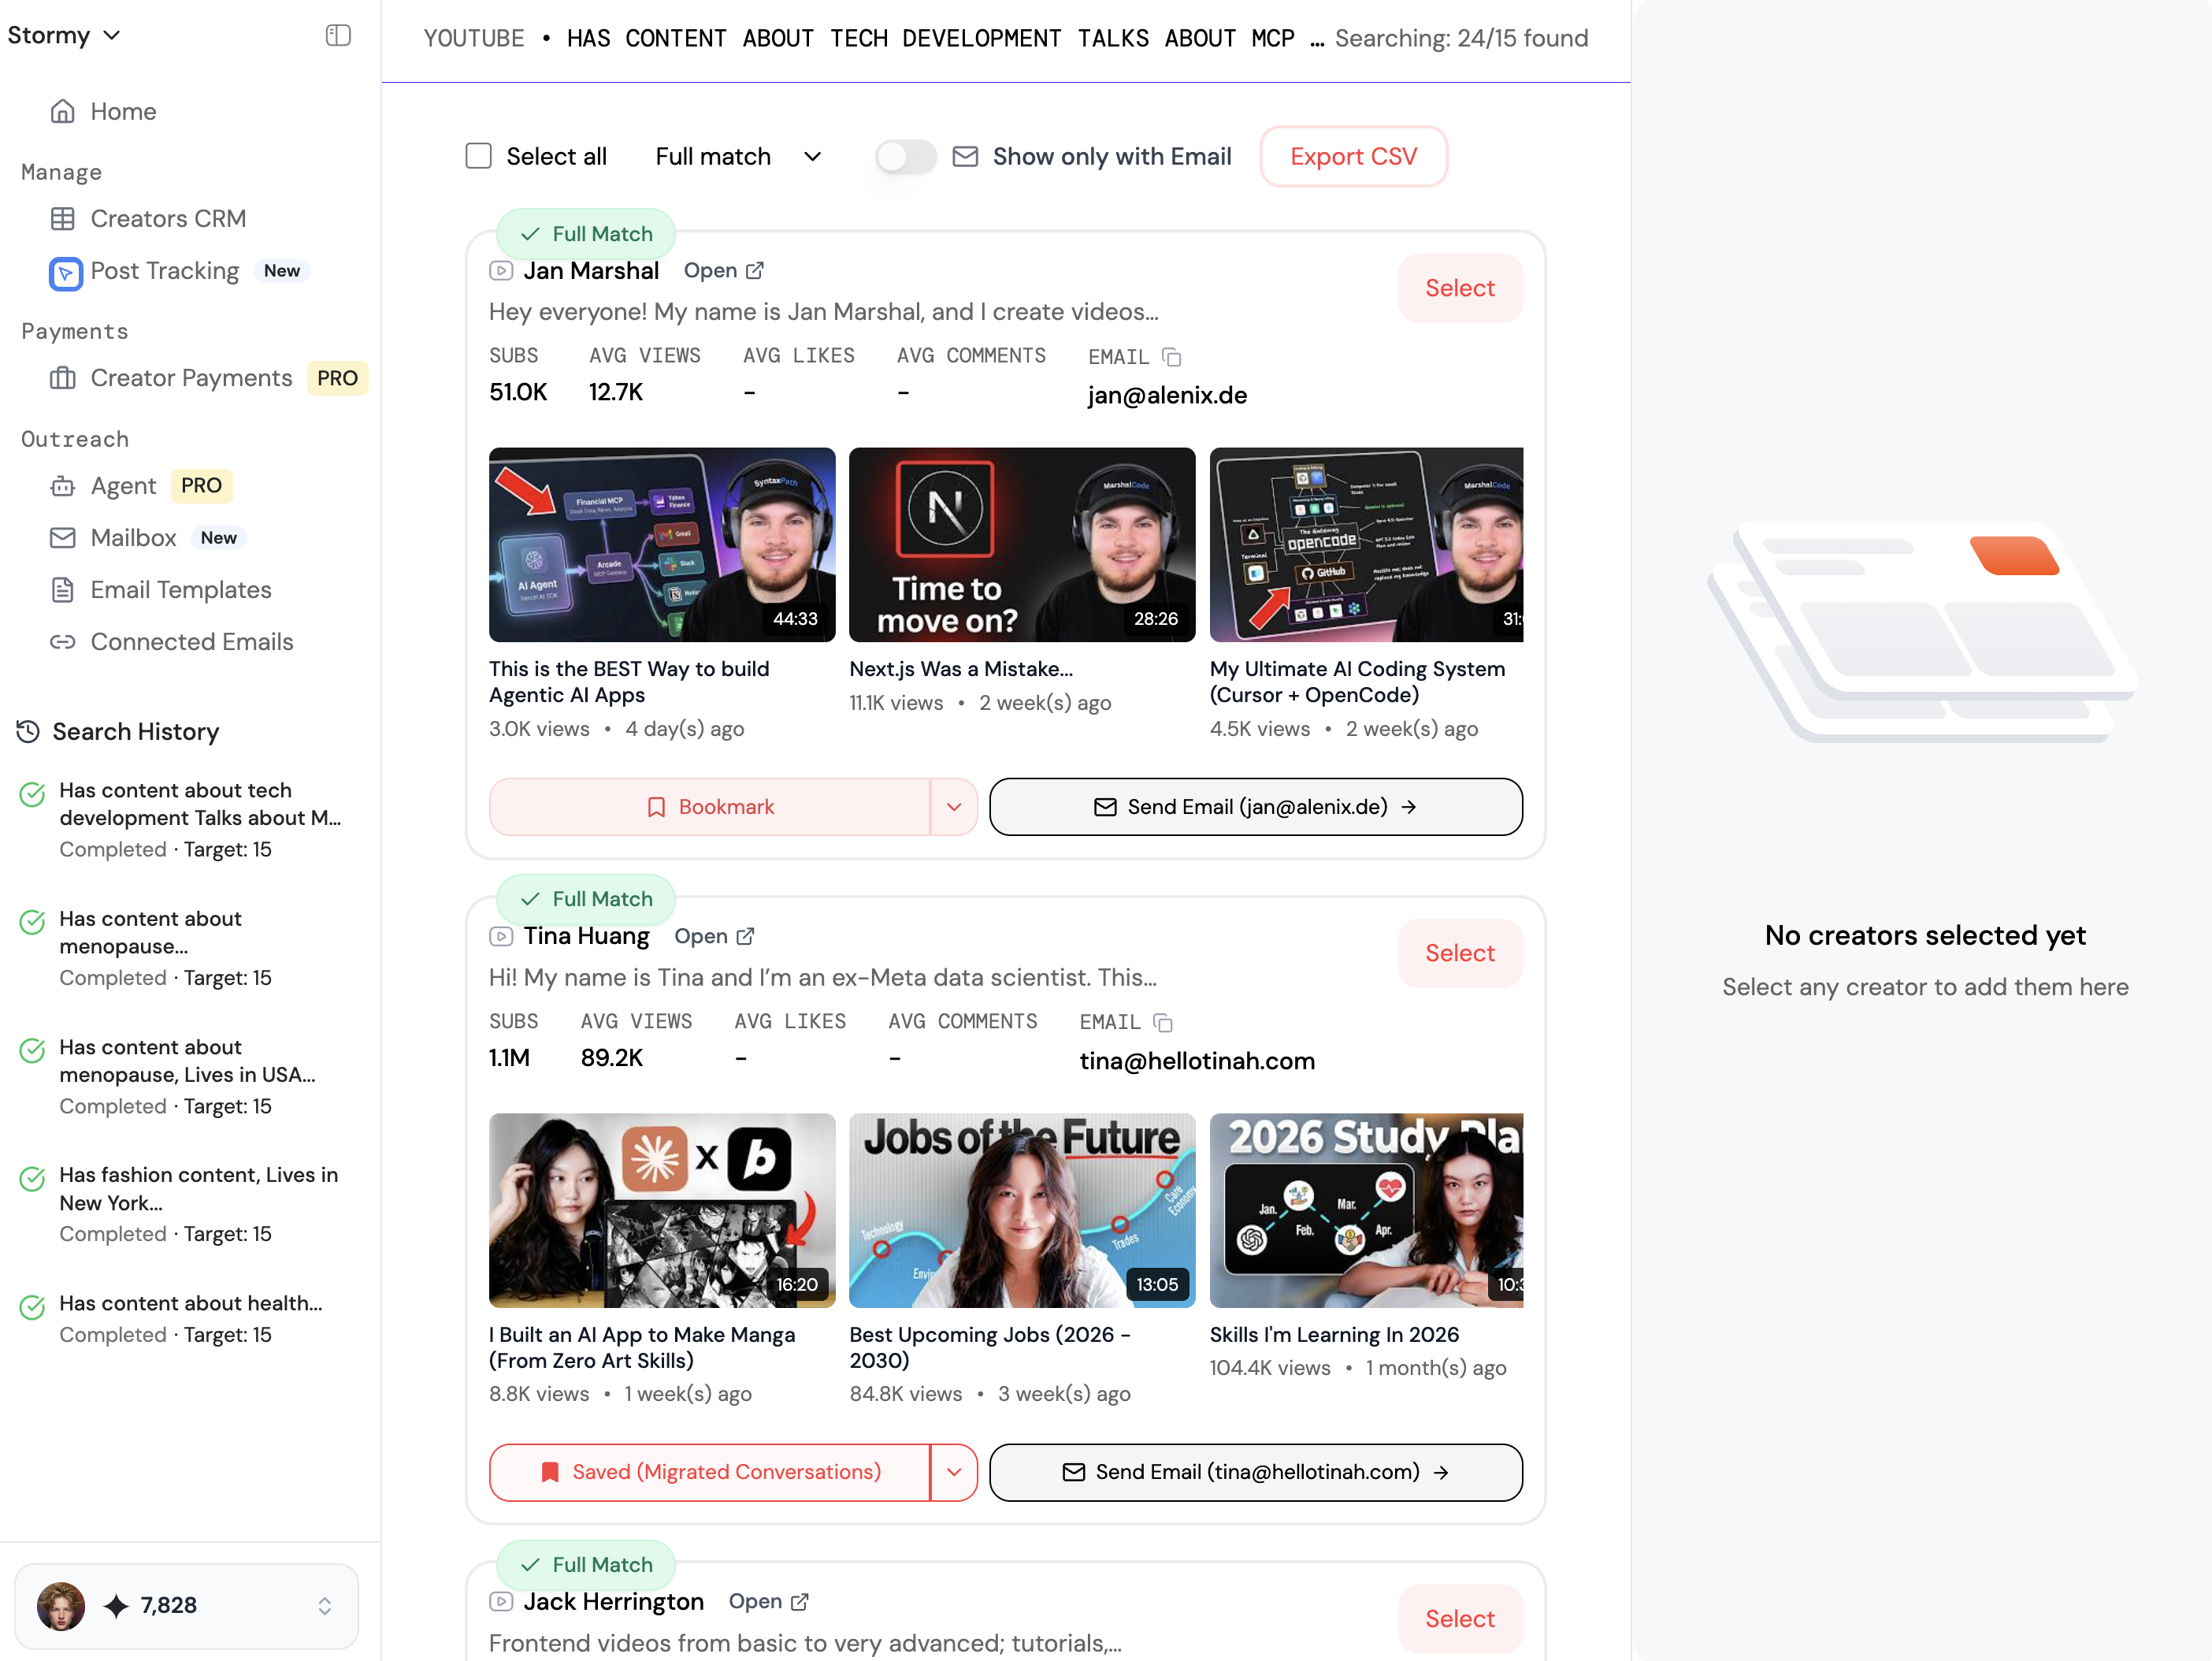
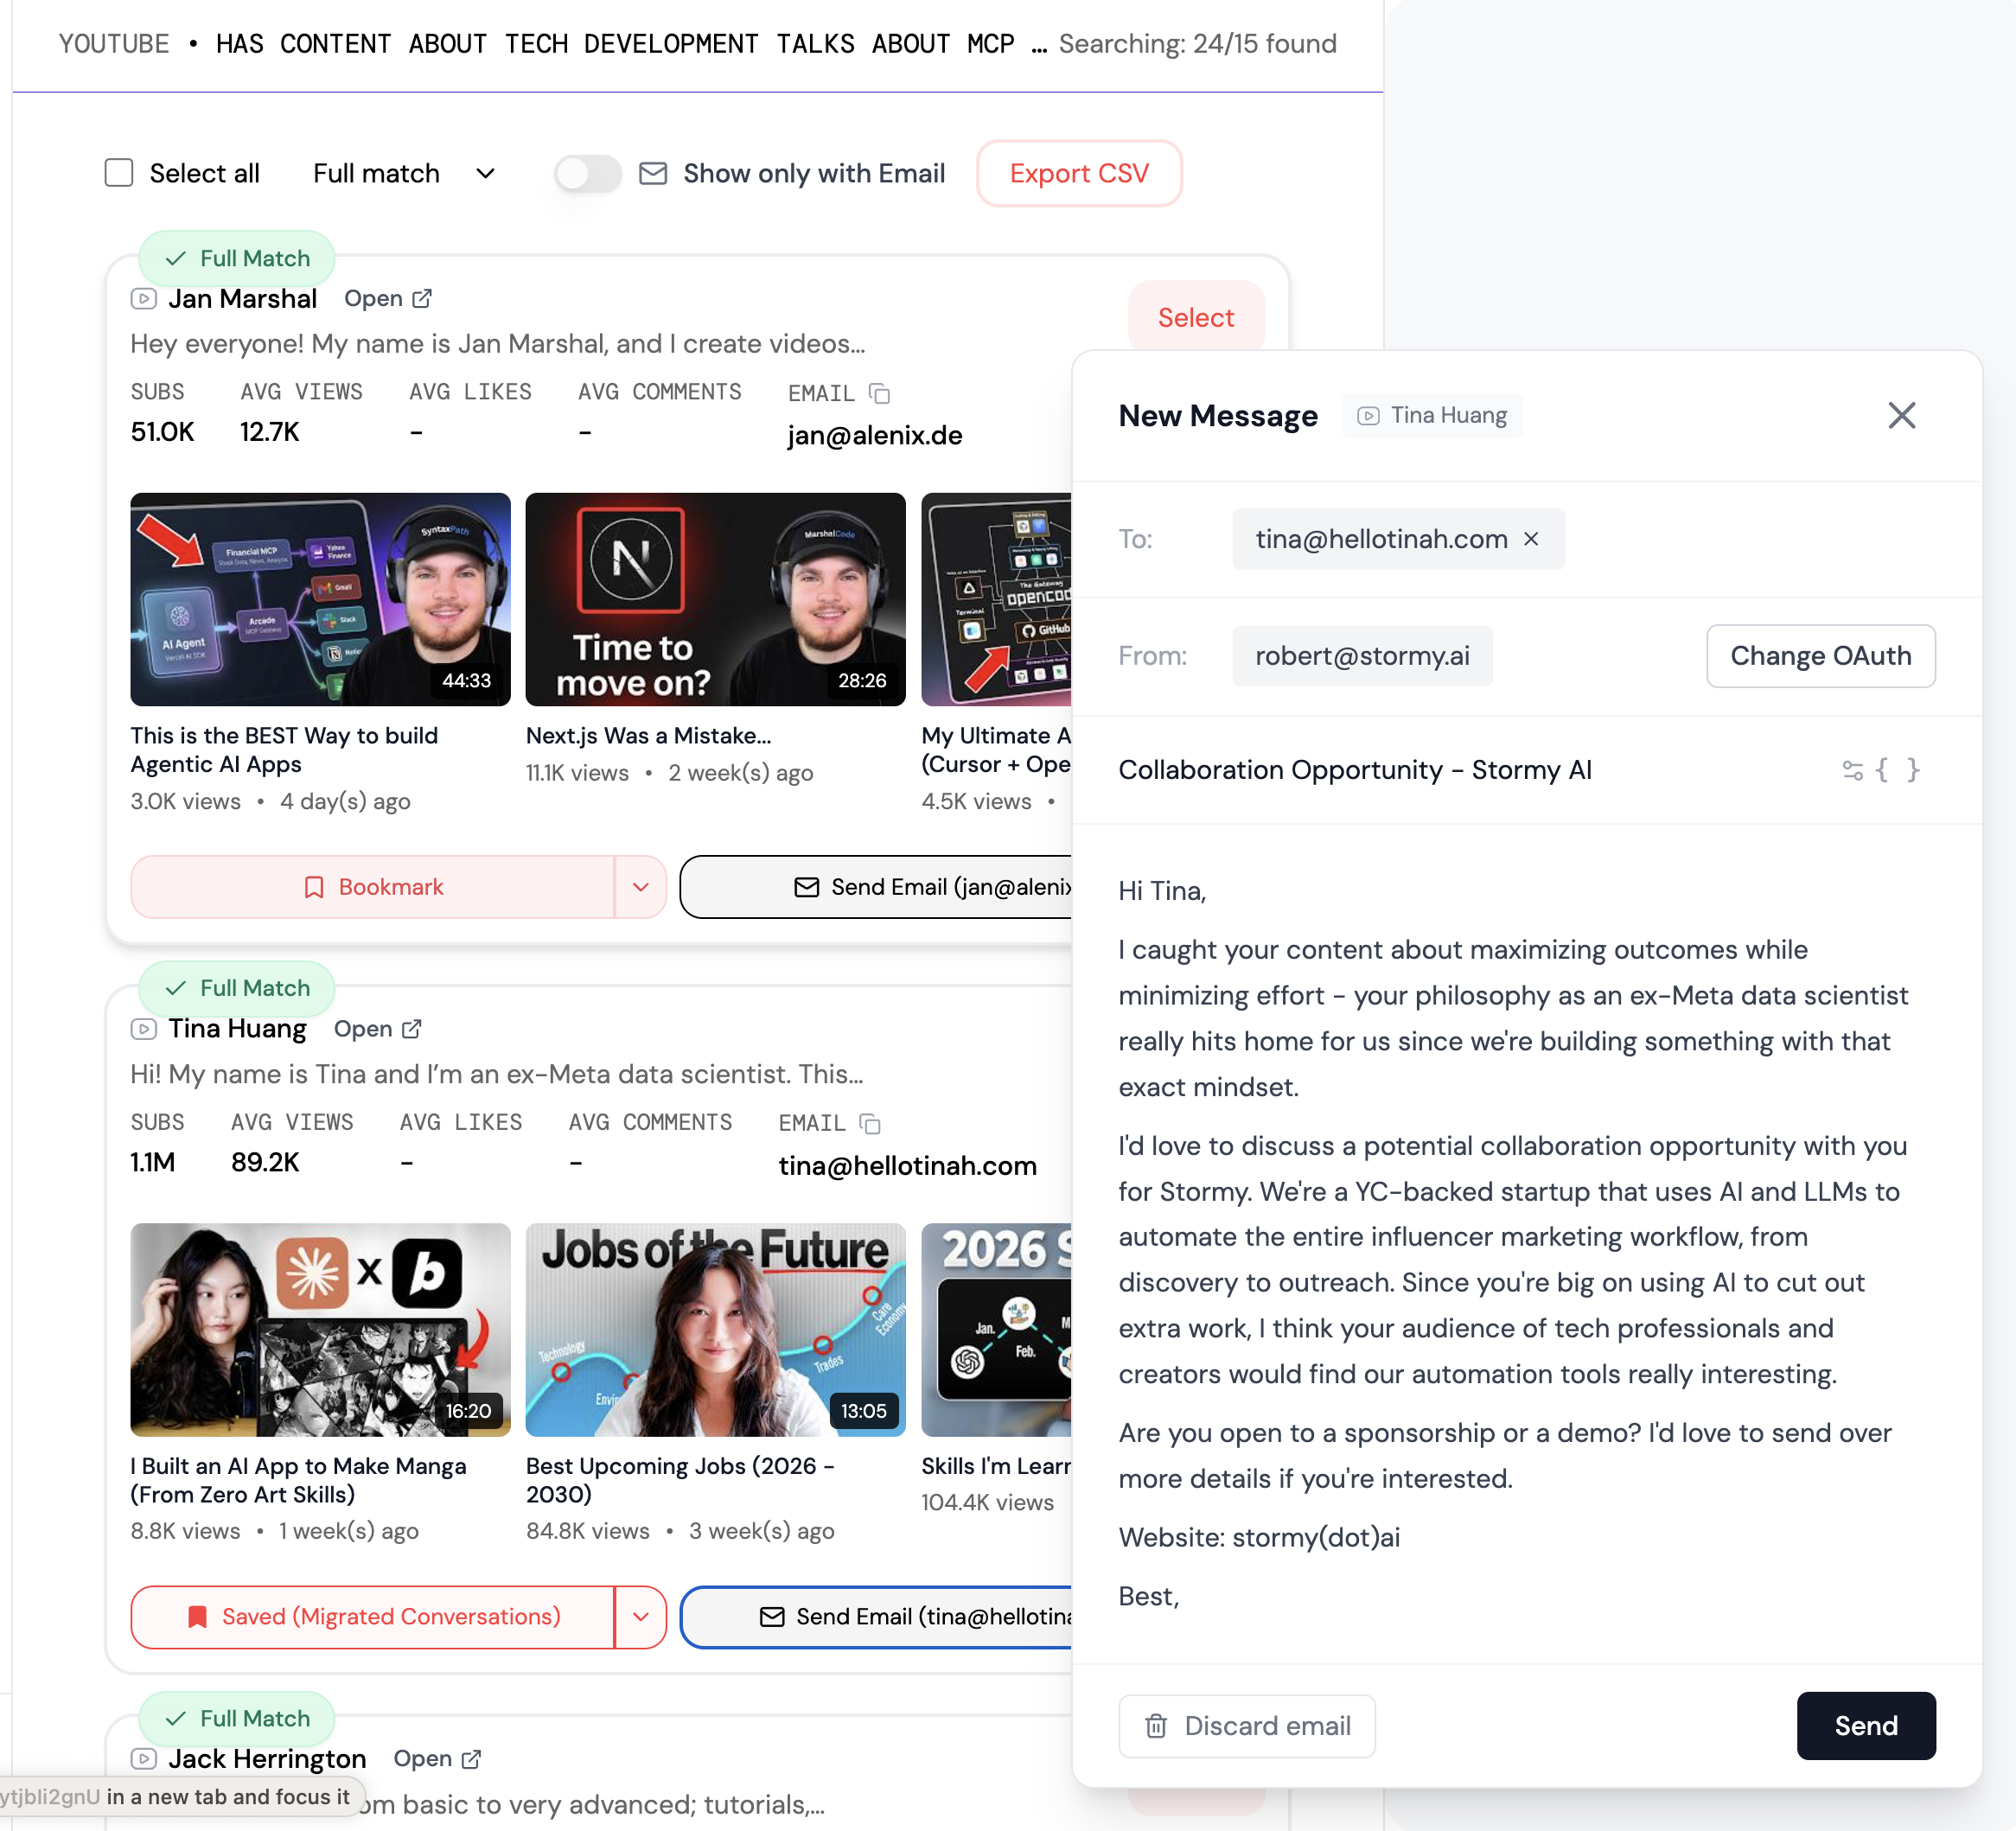
In the world of influencer marketing, this is particularly potent. If you are using tools like Stormy AI to discover creators, you can integrate your AI agent to handle the initial outreach and vetting process. While Stormy handles the search and discovery of influencers across TikTok and YouTube, your OpenAI agent can be the one to qualify incoming inquiries from those creators, ensuring your team only spends time on the most promising collaborations.
Step 5: Deployment with Chat Kit and Widgets
The final hurdle is getting your agent in front of users. Traditionally, this required an engineering team to build a custom front-end and manage server-side API calls. The new OpenAI Chat Kit guide simplifies this with a dedicated SDK and customizable widgets.
Using the Chat Kit SDK
The Chat Kit is essentially a pre-built UI that connects to your Agent Builder workflow. You simply take your Workflow ID, paste it into the Chat Kit UI, and stand up a simple server. This allows you to embed a fully functional, RAG-enabled chatbot onto your website via a simple script tag.
The result? You have a dynamic UI. Using "Widgets," the chat interface can display specific data components. If a customer is asking about an order, a Shopify widget can pop up inside the chat window showing their estimated delivery time and order history. This is far more advanced than legacy tools like Intercom, as it provides a deep, context-aware experience that can change based on the agent's logic.
Best Practices for Refining Your AI Agents
Building the workflow is only 50% of the job. To ensure long-term success with how to build AI agents, you must focus on the following:
- Minimize Context: While it’s tempting to upload every document you own, too much context can degrade performance. Keep your Vector Stores lean and focused.
- Implement Guardrails: Use the Builder’s guardrail settings to prevent hallucinations. You can set rules to moderate harmful content or ensure the agent doesn't share personal data if it's not required.
- Iterative Testing: Use the Preview mode to test the workflow repeatedly. If the agent misclassifies a lead, adjust your prompt instructions or add more examples.
- Monitor Logs: Regularly check the logs in the Agent Builder to see where users are getting stuck or where the logic might be breaking down.
For brands scaling their growth through Apple Search Ads or UGC campaigns, having this automated infrastructure is a competitive advantage. When you source creators through modern AI platforms like Stormy AI, your backend AI agent ensures that no lead or communication falls through the cracks, managing the relationship from the first hello to the final payment.
Conclusion: Your First Steps Toward AI Autonomy
The OpenAI Agent Builder has effectively democratized the creation of complex software logic. By following this playbook—starting with a Classifier, building specialized RAG-based agents, and deploying via Chat Kit—you can replace expensive, rigid SaaS subscriptions with a custom-tailored system that you own and control.
The era of waiting for "engineering bandwidth" to build basic business automations is over. Whether you are building a support bot to save $150 a month or a high-velocity AI lead qualification system, the tools are now in your hands. Start small, build one specialized agent at a time, and watch as your business moves toward a fully automated, AI-driven future.