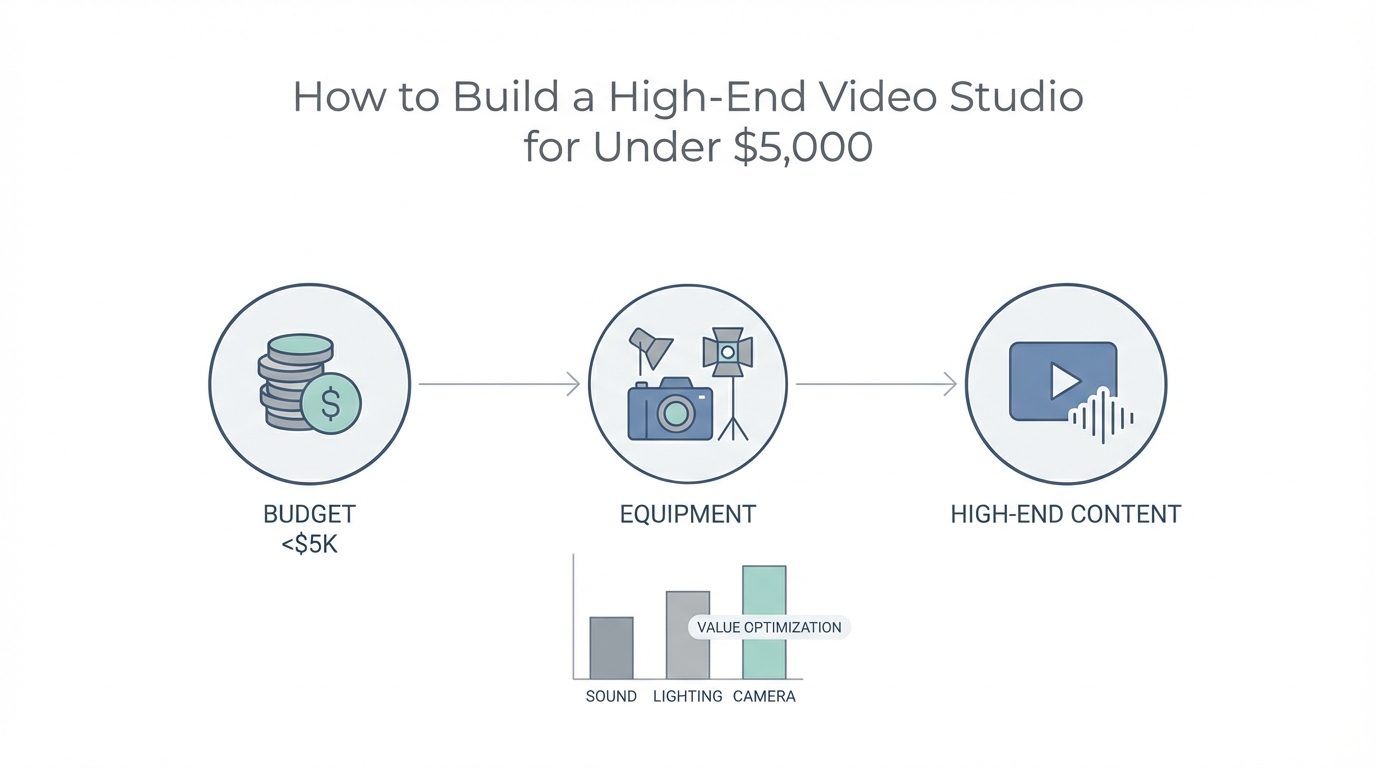
The Full-Frame Advantage: Choosing Value Over Hype
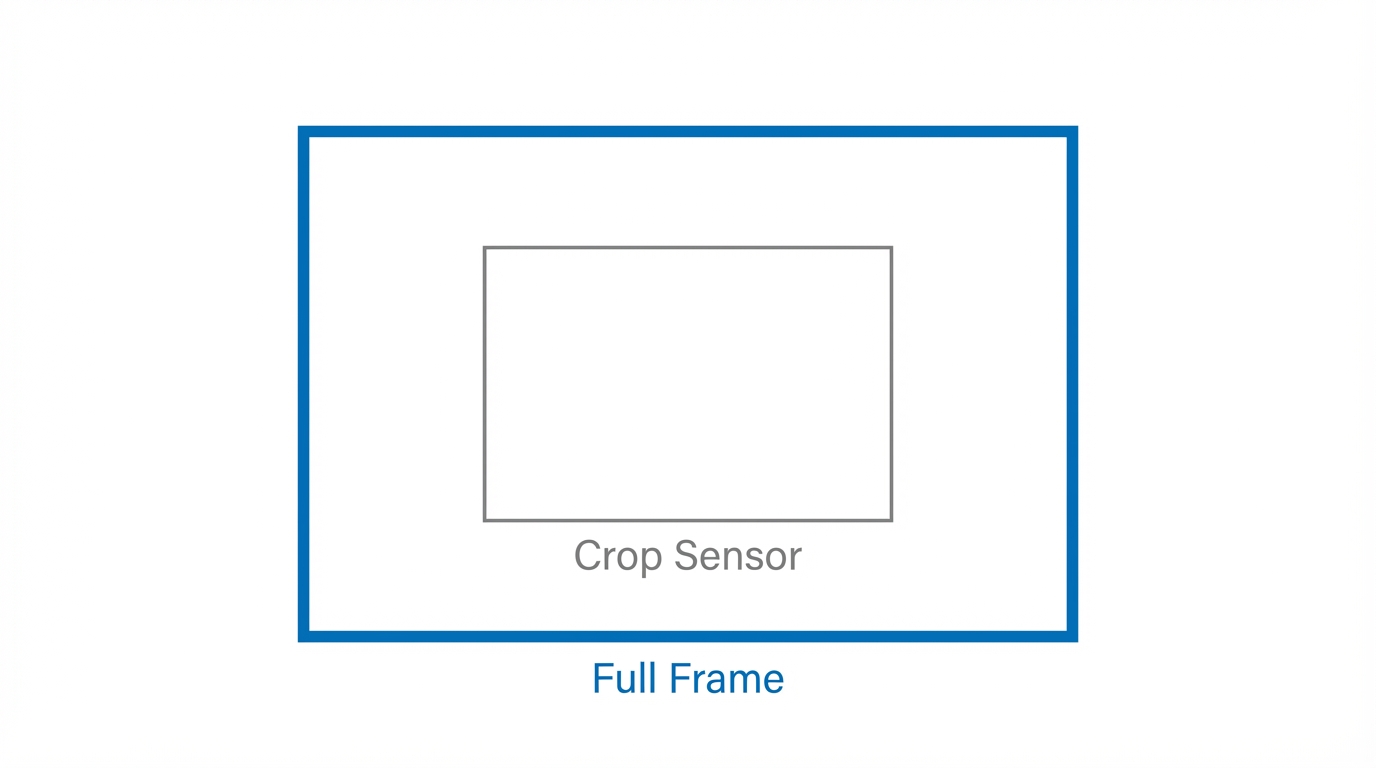
The core of any professional video studio at home starts with the camera sensor. To get that blurred-out background (shallow depth of field) that signals high production value, you need a full-frame sensor. While professional cinema cameras are incredible, tools like the Canon R5C provide a 45-megapixel sensor and 8K video capabilities at a fraction of the cost. When paired with a 35mm or 50mm lens, this setup creates the signature "creators' creator" look that commands attention.
Processing that high-resolution footage also requires significant power. Instead of spending $10,000 on a maxed-out PC, many pros recommend a used M1 Mac Studio. These machines remain incredibly capable of handling 4K and 8K workflows in Adobe Premiere without the lag associated with cheaper laptops. By buying refurbished or used hardware, you can allocate more of your budget to the two things that actually matter more than the camera: lighting and audio.
Lighting Like a Pro: Mastering Depth and Control
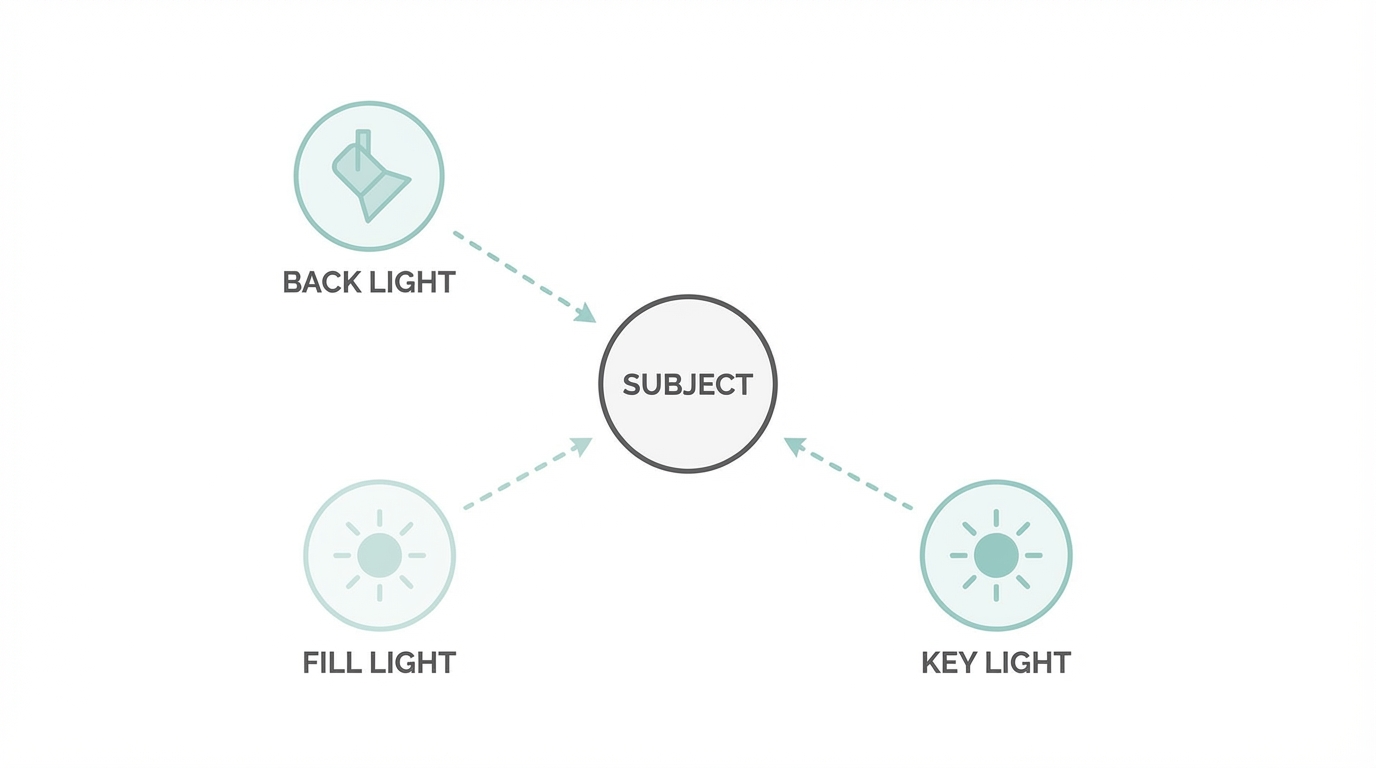
Lighting is the true differentiator between a "webcam look" and a "cinema look." A common mistake is lighting yourself too evenly, which flattens your features. A professional home studio lighting guide always starts with three-point lighting, but the secret lies in the modifiers. You want your key light—the main light hitting your face—to come from a harsh angle to create a shadow side, which adds visual depth.
Using versatile lights like the Amaran 150C or the F22C allows you to control color temperature and intensity from your phone. To prevent light from "spilling" onto your background and ruining the mood, you must use a honeycomb grid (or softbox grid). This ensures the light is directed only at you, keeping your background dark and moody. If you have windows in your studio, don't just close the blinds—use ND (Neutral Density) filters on your camera lens. This allows you to keep a wide aperture for that blurry background even in bright daylight.
Audio Treatment Secrets: The Sound of Authority
People will tolerate mediocre video, but they will immediately swipe away from bad audio. Achieving "broadcast" quality doesn't require a $3,000 microphone; it requires post-processing. Most mid-range XLR microphones, when plugged into an interface like the Apollo Solo, can sound like they belong on a major network with two specific tools: a multiband compressor and a parametric equalizer.
- Multiband Compressor: Use a "Broadcast" preset to level out your voice, making it sound thick and consistent regardless of how loud you speak.
- Parametric EQ: Use a "Vocal Enhancer" setting to boost the low-end (for that radio-host resonance) and the highs (for clarity and crispness).
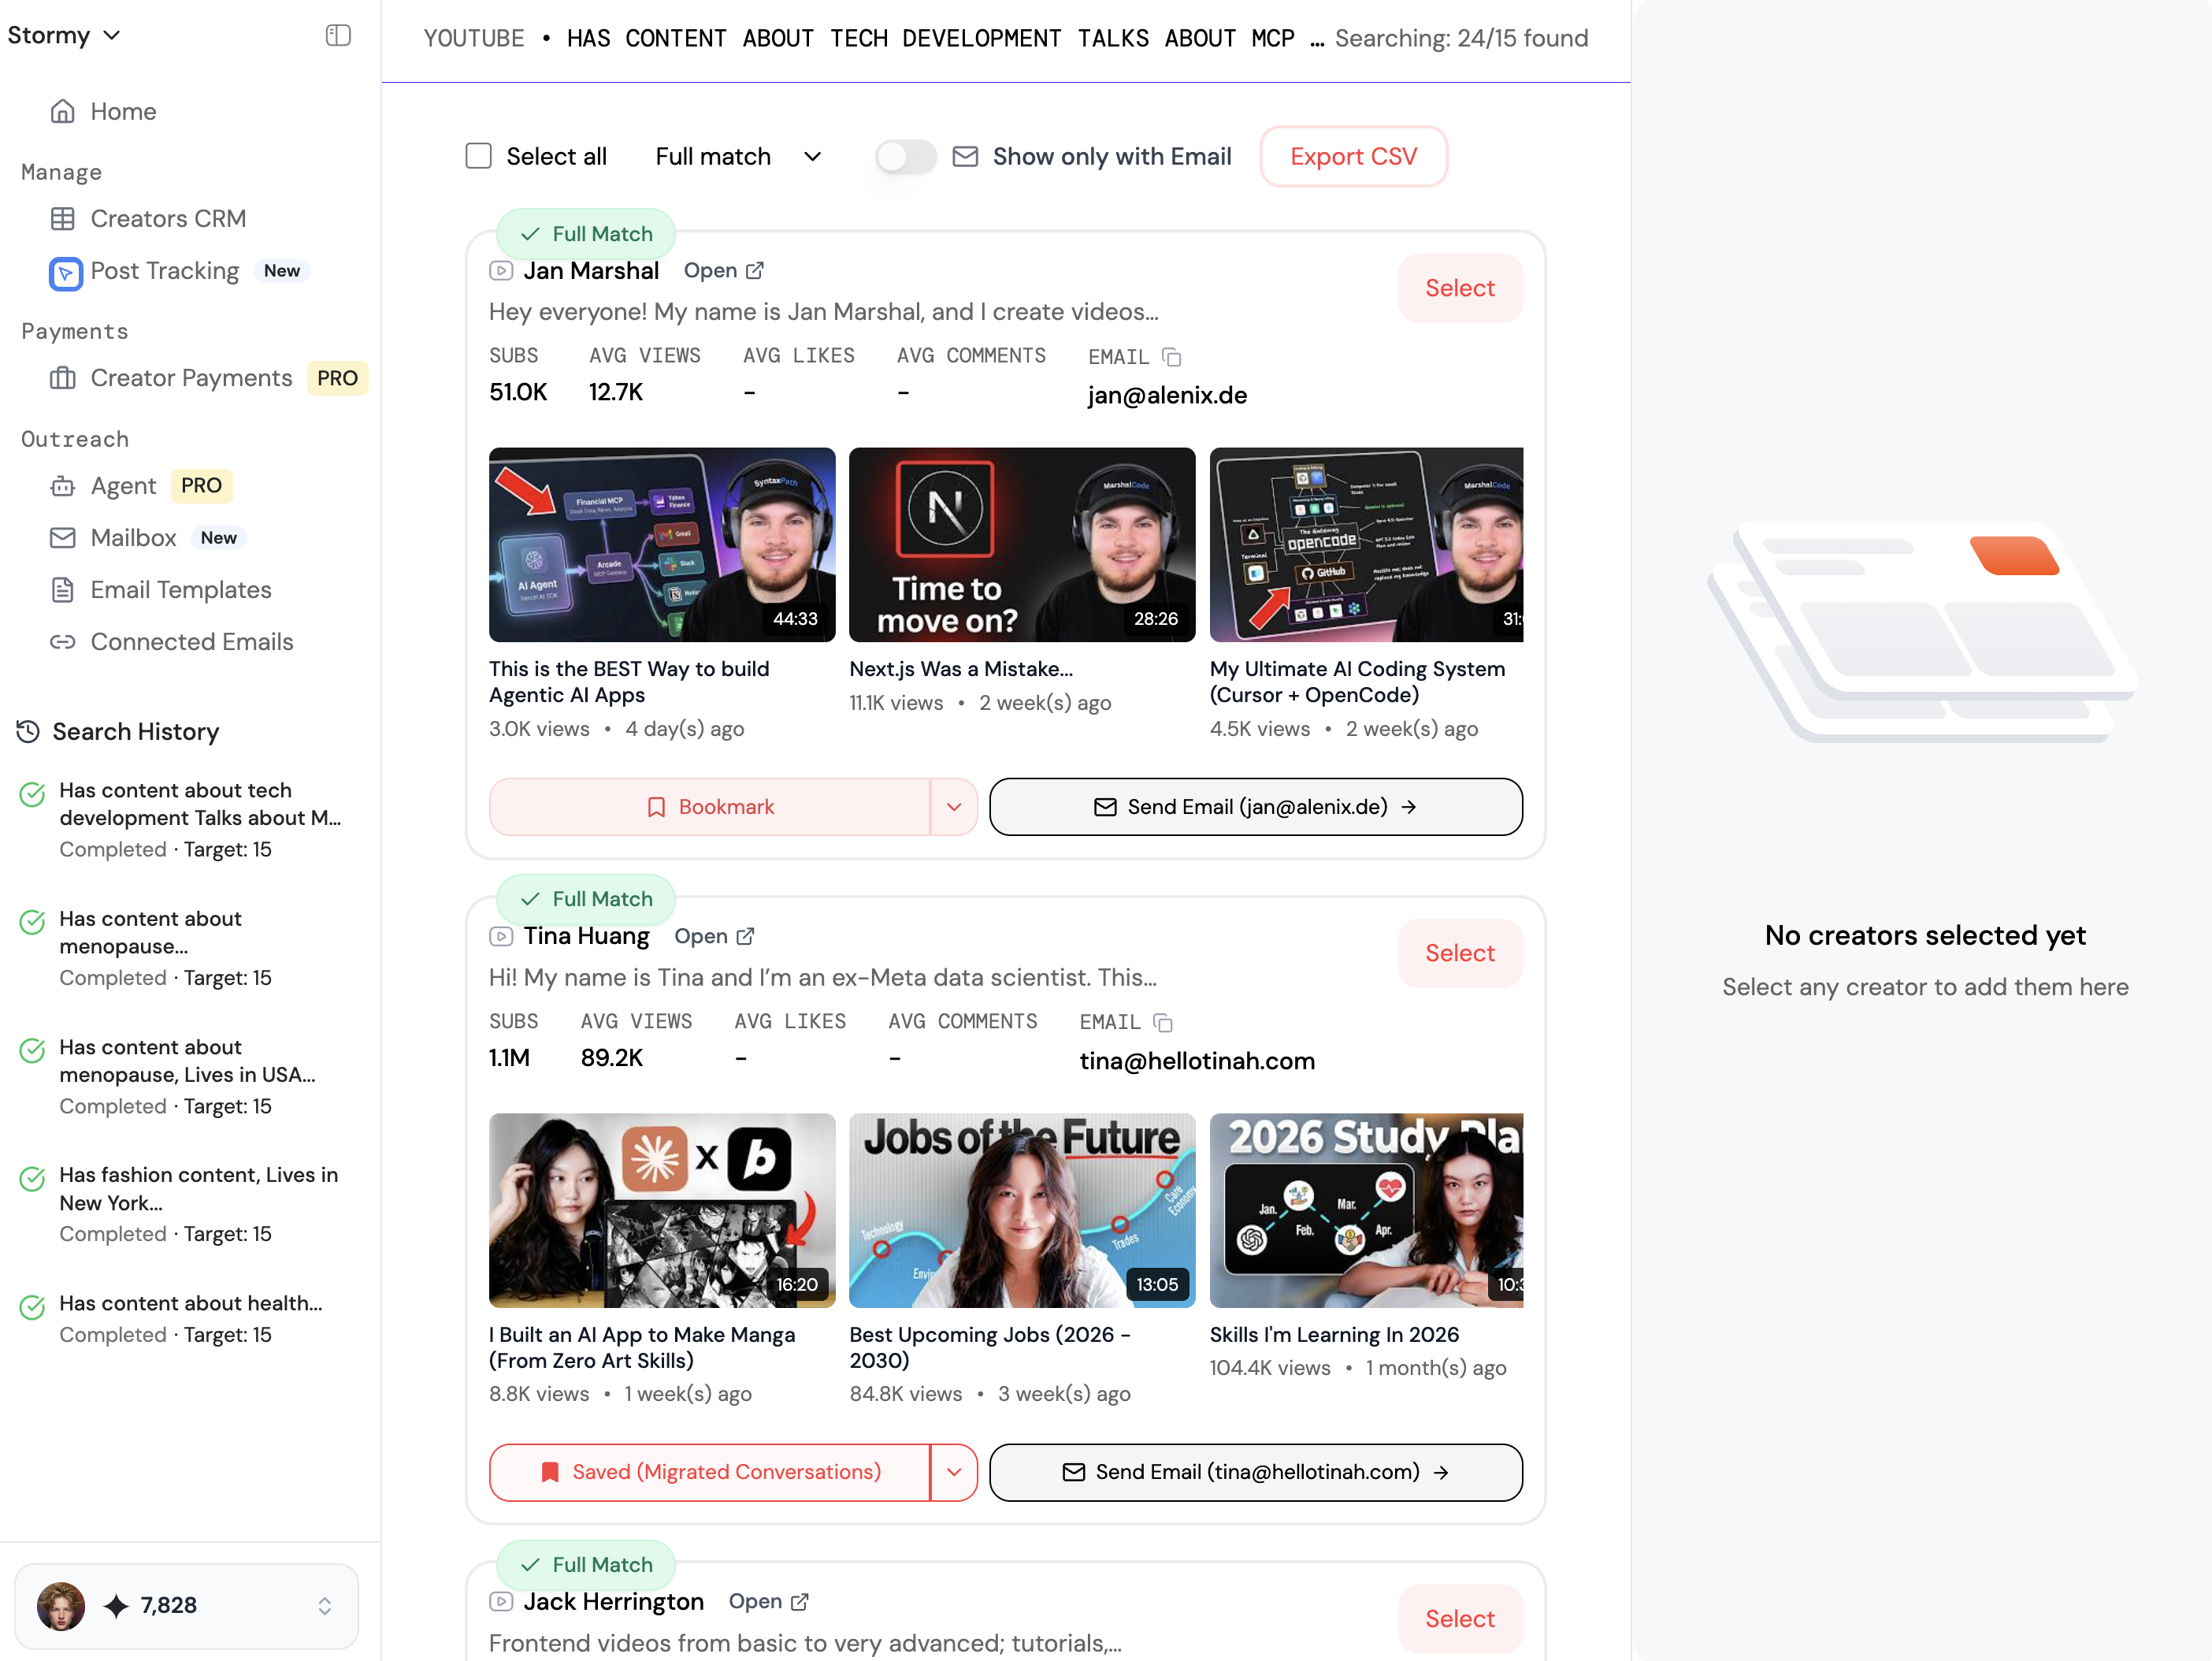
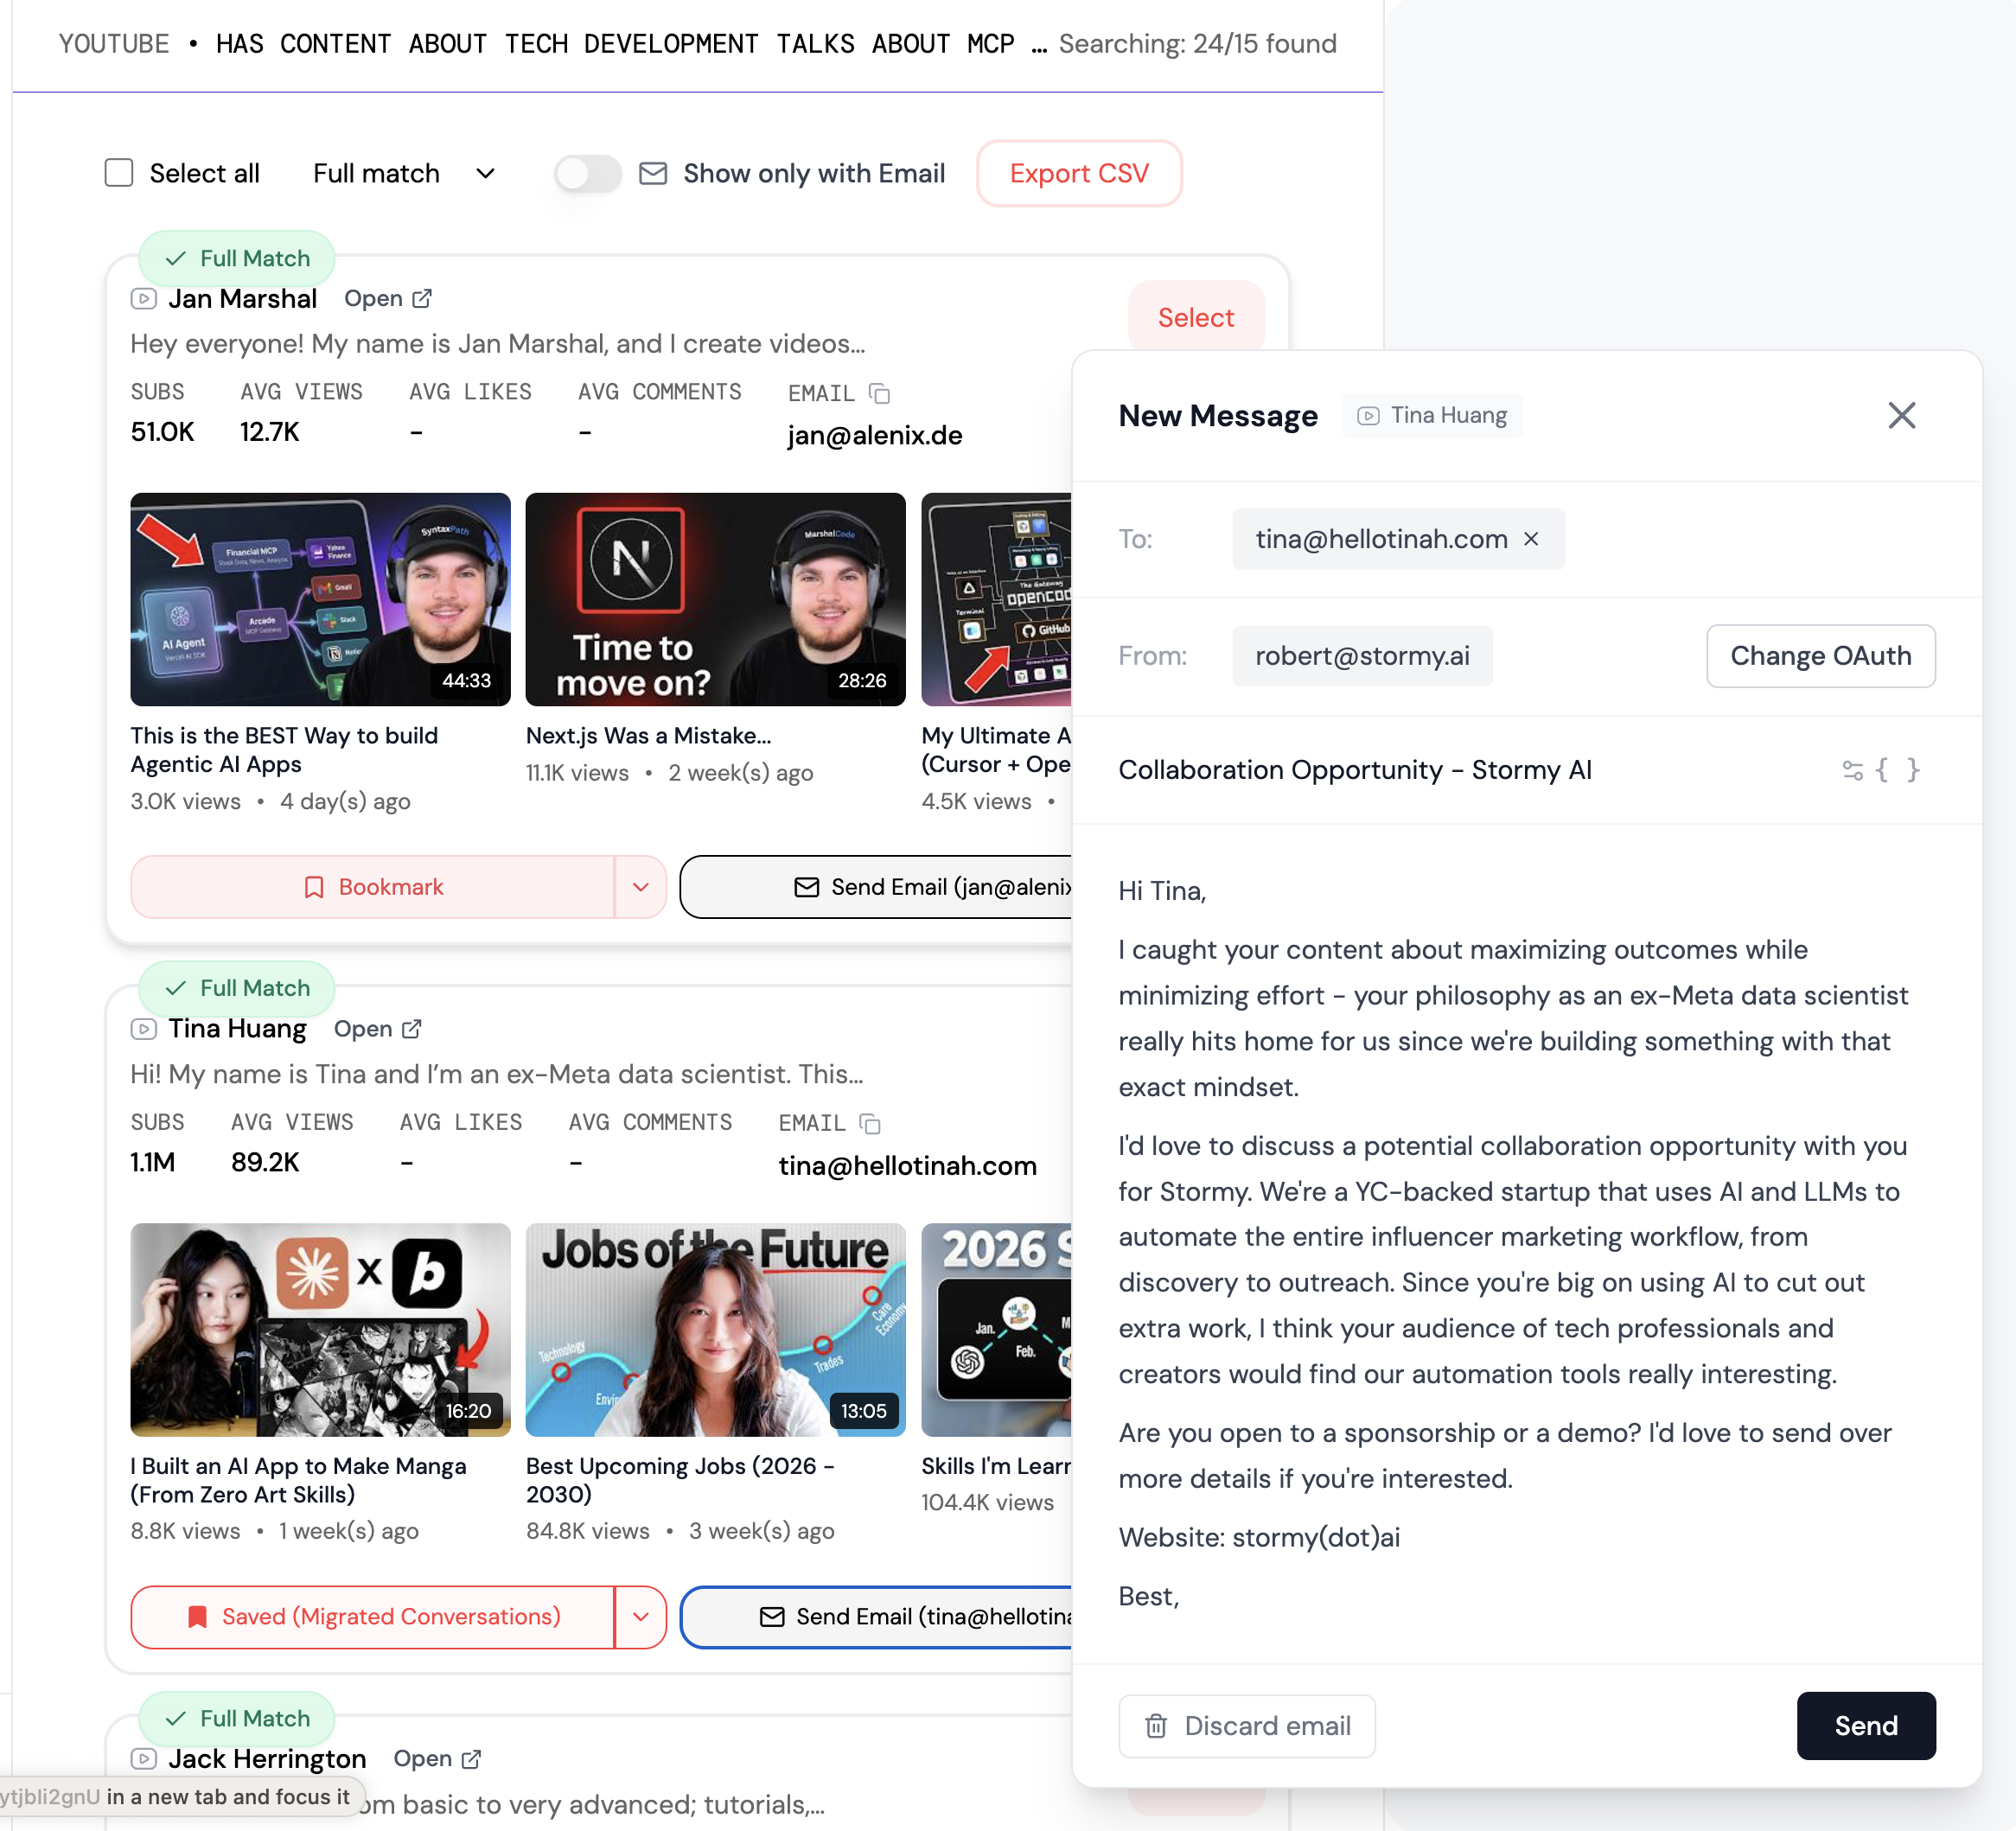
When you manage your own creator relationships or work with a brand, having this "signature sound" makes you stand out as a professional. For those looking to scale their reach, tools like Stormy AI can help source and manage UGC creators who have already mastered these technical setups, allowing brands to find high-quality talent without the trial and error.
The Aesthetic of Authenticity: The Garage Setup
Interestingly, many of the world's most successful creators prefer a "garage" or "raw" aesthetic over a sterile, million-dollar studio. This is because authenticity is the currency of social media. A dusty garage filled with tech gear and monitors often outperforms a white-wall studio because it feels relatable and scrap-driven. This is particularly effective for personal branding and startup-focused content.
To lean into this aesthetic, use practical lights in the background—like a monitor glow or a small LED streak—to create a "layered" look. You want your audience to feel like they are getting a behind-the-scenes look at a real workspace. This "nitty-gritty" hustle culture vibe builds trust, especially when discussing tech, AI, or entrepreneurship. The goal is to look expensive but accessible.
Studio Ergonomics: Designed for Speed
The best studio is the one that is always ready to record. If it takes you an hour to set up your lights and camera, you will find excuses not to create. High-end studios are built for muscle memory. This means having your camera on a permanent mount, your lights connected to a single remote or app, and your script ready on a teleprompter.
Professional creators often use software like Screen Studio for high-quality screen recordings with automatic zooms, or Downie to quickly pull B-roll from the web. When your workflow is streamlined, you can move from idea to deployment in under an hour. This speed is essential because, in the world of influencer marketing, being first to a trend is often more valuable than being perfect.
Final Takeaways for Your Studio Build
Building a high-end video studio for under $5,000 is entirely possible if you prioritize lighting and audio over expensive camera bodies. Start with a full-frame mirrorless camera, invest in quality modifiers like honeycomb grids, and master the art of post-production audio treatment. By creating a space optimized for speed and authenticity, you can produce content that rivals the biggest names in the industry. For brands looking to leverage this level of production for their own campaigns, using an AI-powered creator platform like Stormy AI allows you to discover and vet influencers who already have these professional setups in place, ensuring your UGC looks like it cost $100k, even on a startup budget.