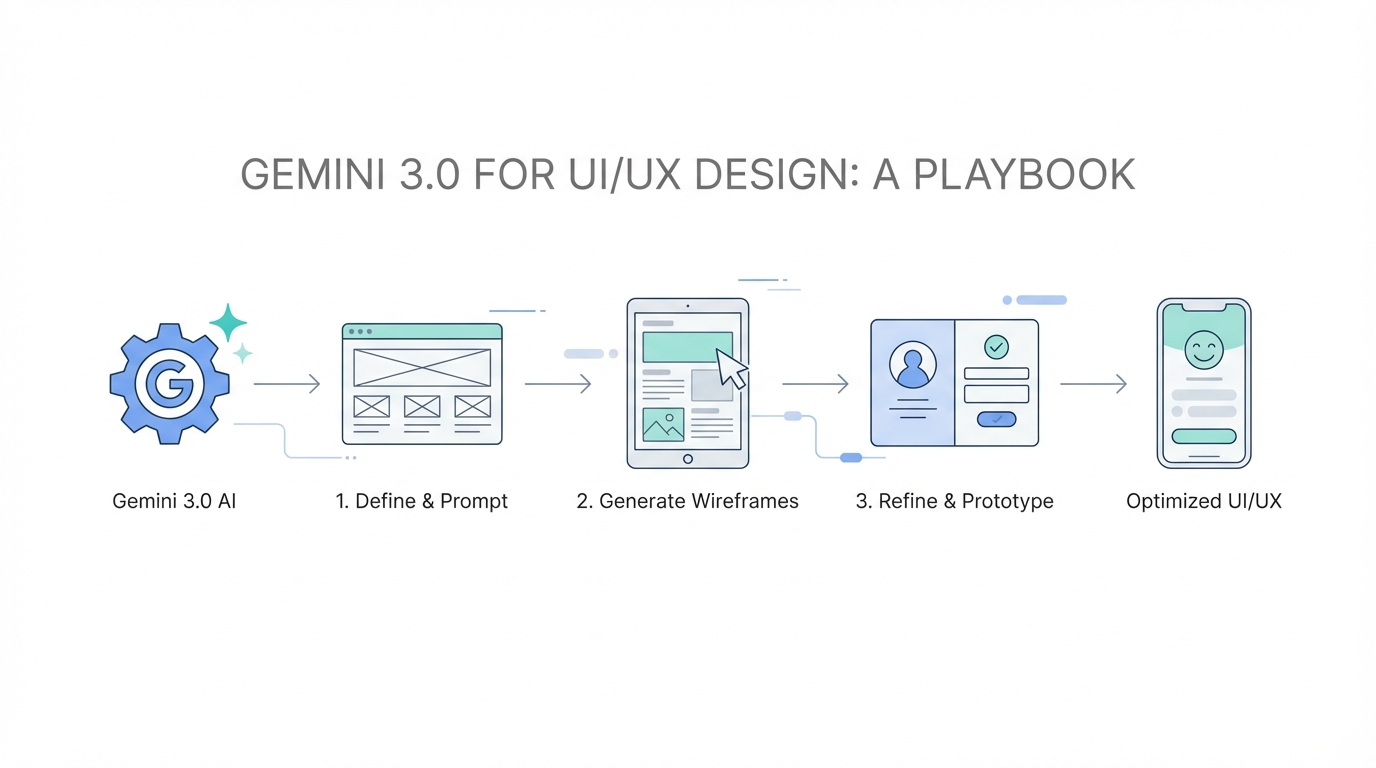
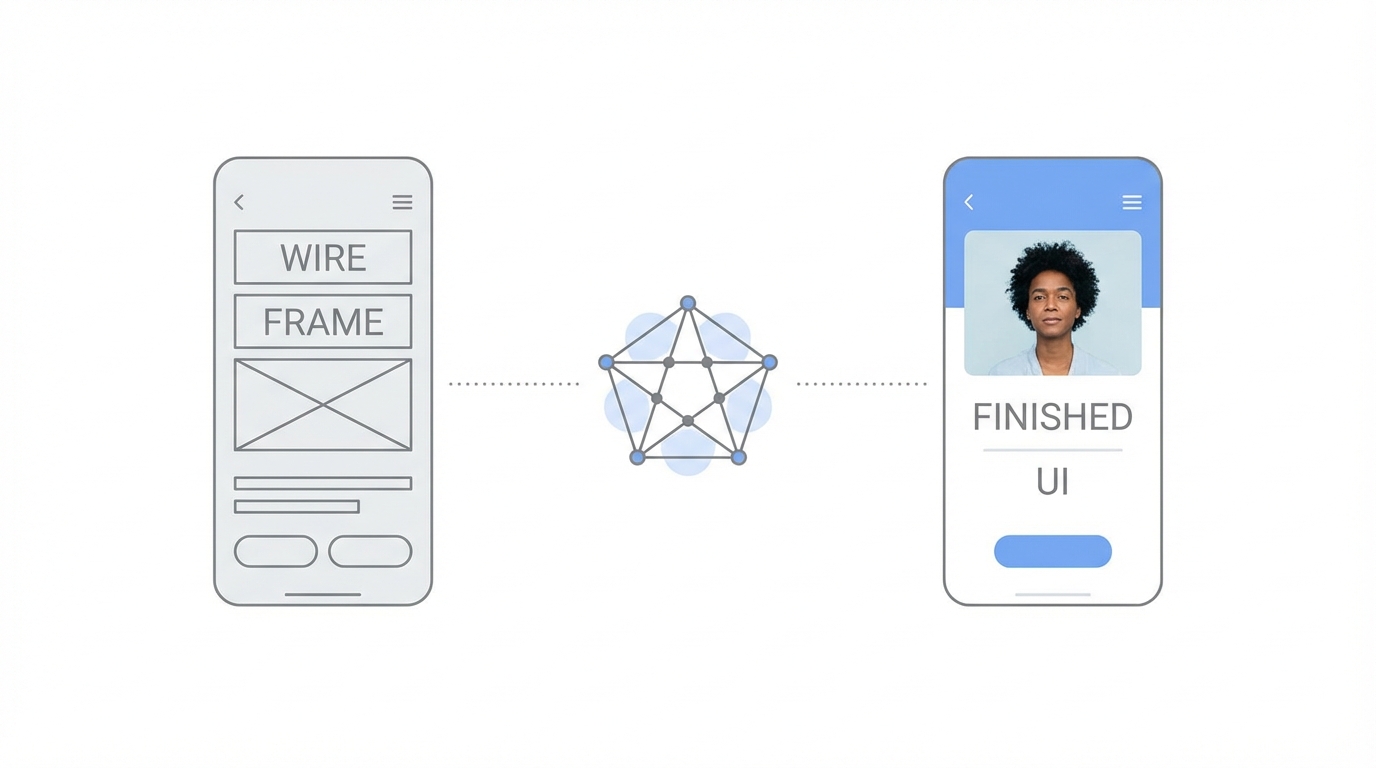
The era of the "idea guy" has officially arrived, as recently noted by OpenAI co-founder Sam Altman. For years, the barrier to building a world-class digital product wasn't just the code—it was the high cost and specialized skill required for premium UI/UX design. But with the release of Gemini 3.0 Pro within the Google AI Studio, that barrier has effectively collapsed. Designers and non-designers alike can now translate a vision into a high-fidelity interface in minutes. This isn't just about "vibe coding"; it is about vibe designing—the ability to use aesthetic references, physical product textures, and iterative visual feedback to create professional-grade software interfaces.
Setting Up Your Design Environment in Google AI Studio
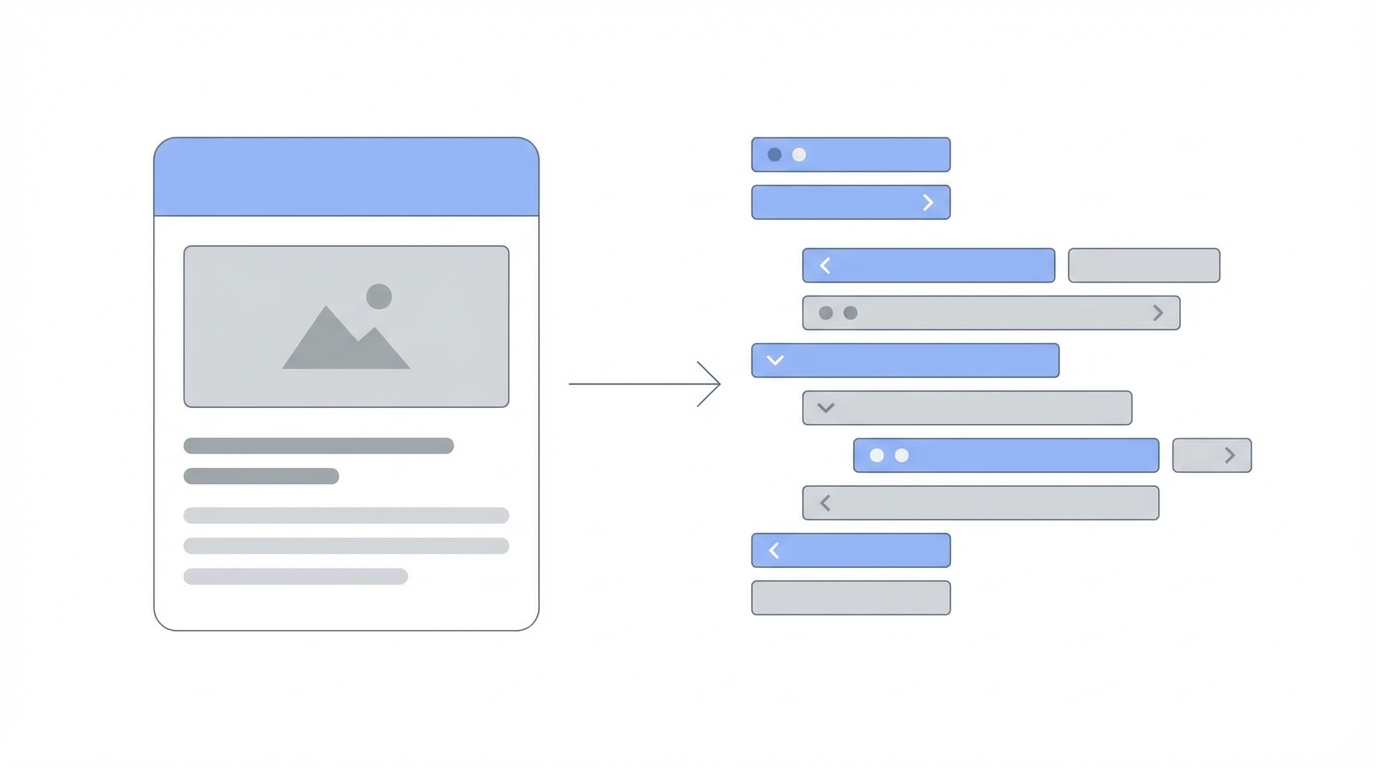
To begin your journey with Gemini 3.0 for designers, you must first navigate to Google AI Studio, the specialized sandbox where Google allows users to interact with their most advanced models. Unlike standard chat interfaces, the "Build" section in AI Studio provides a robust environment for generating multi-file applications. When you enter the dashboard, the first critical step is selecting the Gemini 3.0 Pro model from the dropdown menu. This model is specifically optimized for complex reasoning and multimodal inputs, making it the ideal choice for AI UI UX design tools.
Once selected, the interface allows you to define your project through a combination of natural language prompts and file uploads. Gemini 3.0 doesn't just output a single block of code; it constructs a complete metadata.json, index.html, and necessary React components using Tailwind CSS. This structured approach allows you to see the "work" as it happens, creating a transparent development cycle where you can monitor the entry points of your application in real-time. For those looking to build quickly, this setup is vastly superior to legacy workflows that required manual environment configuration.
The Reference Image Strategy: Anchoring the Aesthetic
One of the most powerful features of Google AI Studio is its multimodal capability, which allows for what we call the Reference Image Strategy. If you want to move beyond generic, "purple-hued" AI designs, you must provide the model with a visual anchor. For example, if you are redesigning a personal site like gregeisenberg.com, you can upload a screenshot of your current site and ask the AI to inject "freshness" and "color" while maintaining the core content. By providing a baseline, you give the AI a structure to iterate upon rather than forcing it to guess your taste.
To take this further, professional designers often pull high-quality dashboard inspiration from Dribbble or Behance. By uploading a screenshot of a clean, modern SaaS dashboard and pairing it with a prompt like, "Build an analytics app for restaurants in this exact style," you leverage the AI's ability to reverse-engineer design systems. It will identify the spacing, typography, and color palette of the reference image and apply those attributes to your specific project requirements, such as an AI analyst Chef OS. This method ensures your output feels intentional rather than randomized.
Mastering the Annotation Tool for Iterative Design
Static prompts often fall short when you need precise adjustments to specific UI components. This is where the Google AI Studio tutorial on the annotation tool becomes essential. Within the app preview, you can click the "Annotate" button to enter an interactive feedback mode. This tool allows you to draw rectangles, arrows, or write comments directly onto the UI elements the AI has just generated. For instance, if the background of your "Windows XP style" personal site is a boring white, you can highlight that section and prompt: "This background doesn't give off the classic blue skies and green mountain vibe—please adjust."
The annotation tool effectively creates a visual feedback loop. Instead of trying to describe a complex layout shift in text, you simply show the AI what you mean. This is particularly useful for fixing broken icons or adjusting the placement of navigation bars. As seen in the development of the Idea Browser project, the ability to take feedback is what separates Gemini 3.0 from older models like Google Bard. The AI treats your annotations as high-priority instructions, rebuilding the React application entry point to match your visual corrections in seconds.
Vibe Designing: Using Physical Products to Influence Digital UI
A cutting-edge technique in the vibe designing guide is the cross-pollination of physical product design and digital interfaces. Designers are increasingly using aesthetics from iconic hardware companies like Teenage Engineering to influence their software's look and feel. By uploading a photo of a physical synthesizer or a high-end microphone, you can instruct Gemini 3.0 to treat digital buttons as if they were tactile, real-world knobs. This results in a "skeuomorphic-lite" design that feels premium and unique in a sea of flat, uninspired SaaS apps.
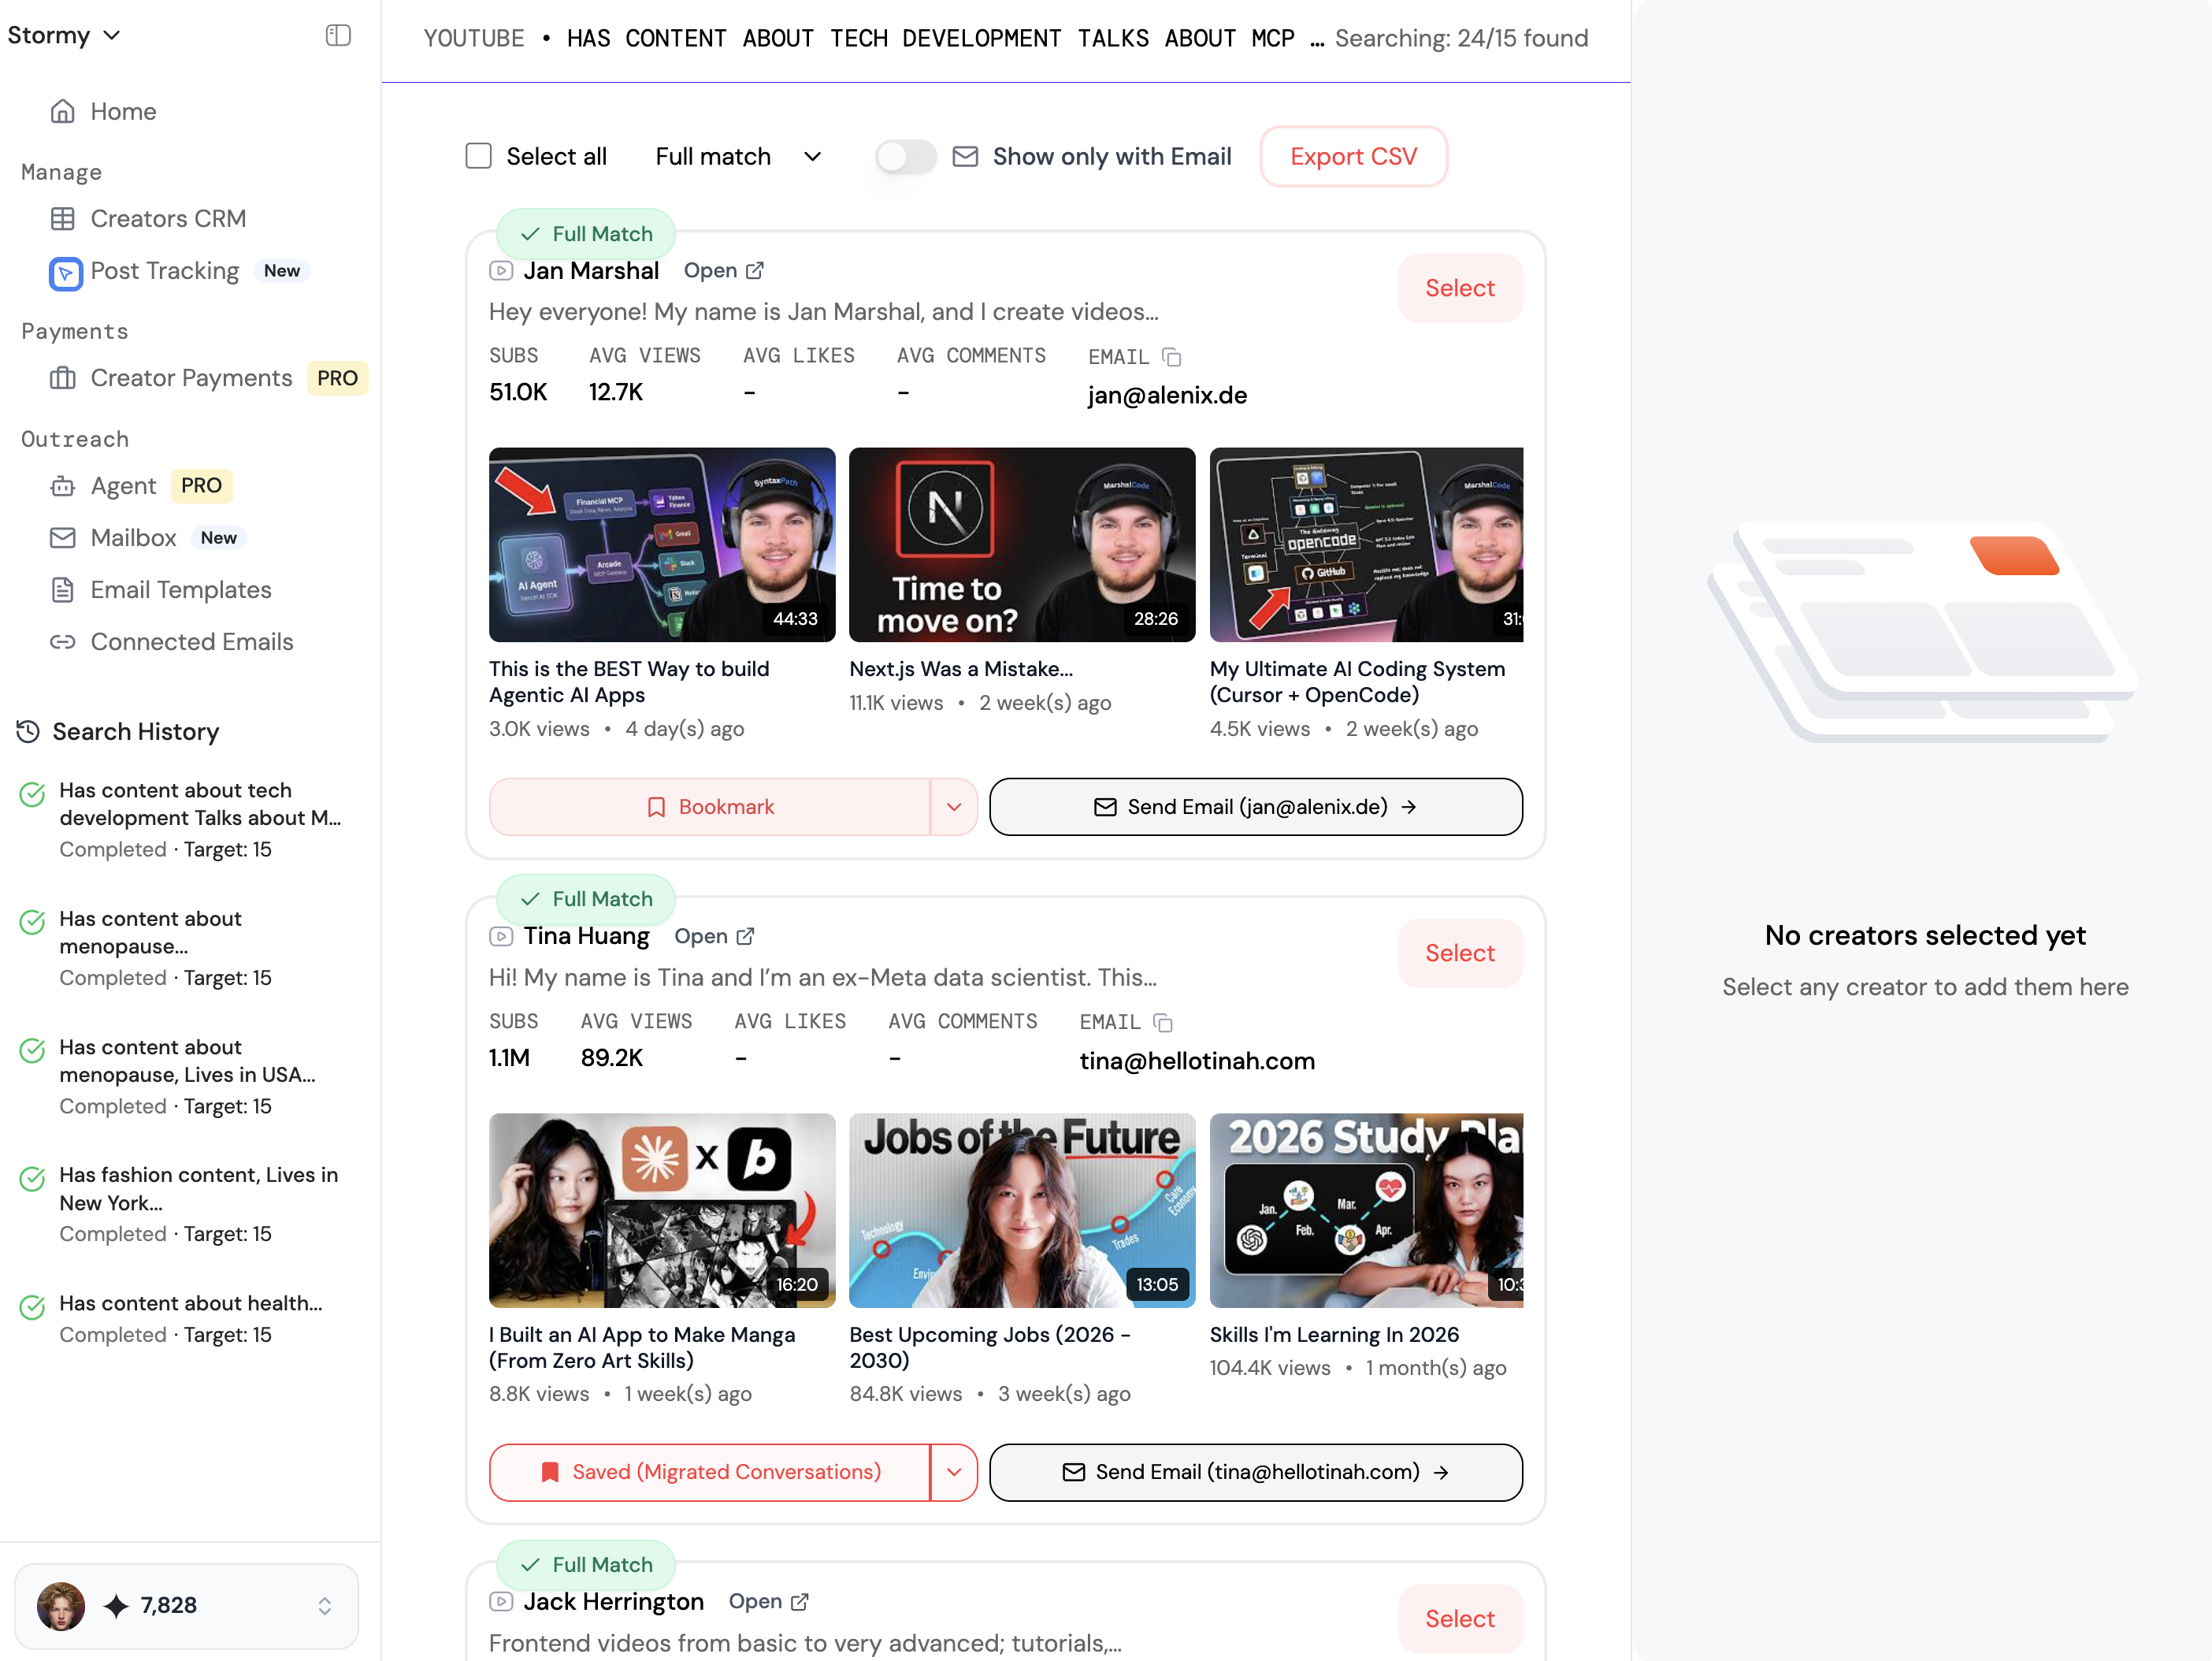
When you provide a prompt like, "I want the buttons to feel like real knobs from a Teenage Engineering device," the AI uses its training on physical textures to generate CSS shadows and gradients that mimic depth. This approach is highly effective for niche apps, such as a fitness mascot app called Gains. By combining physical world references with digital gamification, you create a "scroll-stopping" experience. Tools like Stormy AI can later help you manage the UGC creators you'll need to market these uniquely designed apps, ensuring that your aesthetic vision is communicated effectively to your audience.
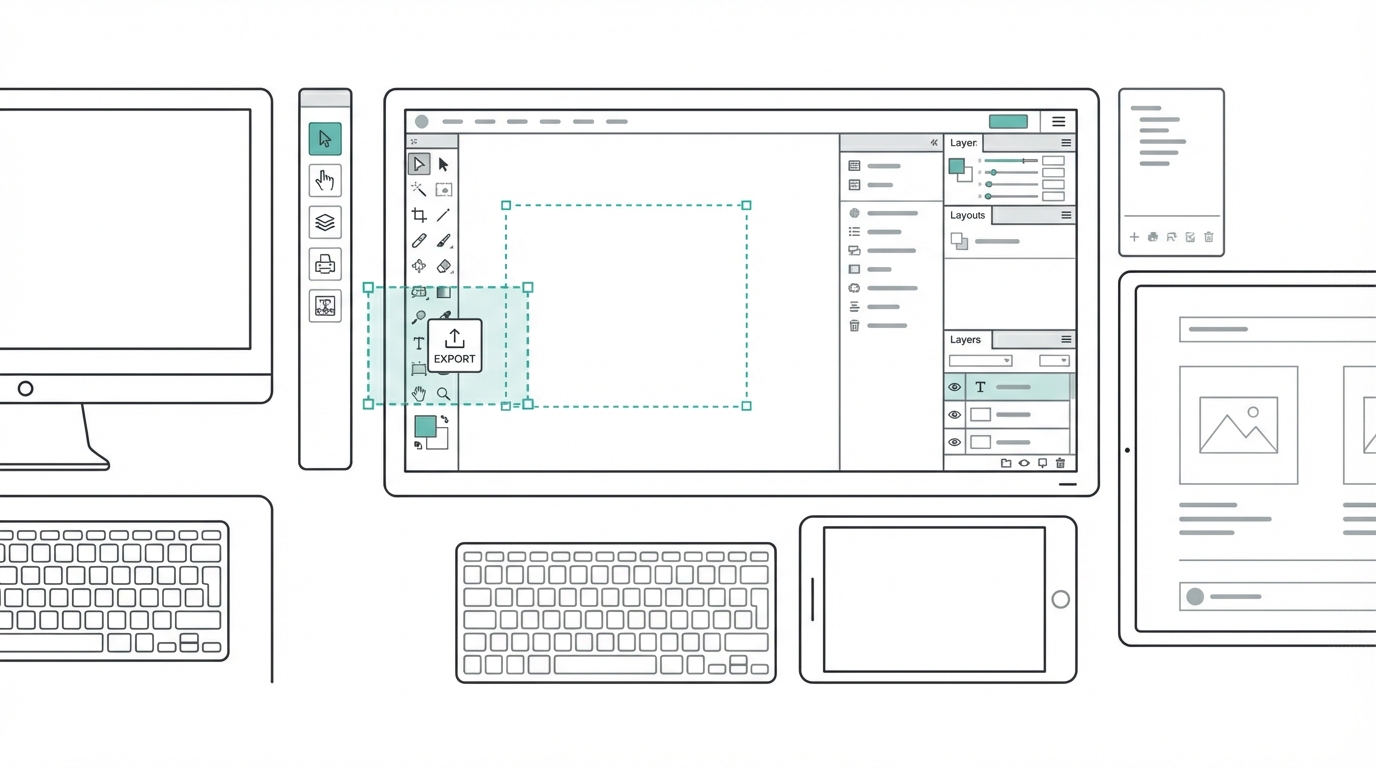
From AI Studio to Production: Exporting and Refining Code
Once you have achieved a design score of 8/10 or higher within Google AI Studio, the next step is moving toward a production-ready environment. While AI Studio is excellent for prototyping, you will eventually need to refine the logic and hosting. Platforms like Replit have recently integrated Gemini 3.0 into their own "Design Mode," allowing for a seamless transition from a visual prompt to a live website. This AI to code workflow is the future of rapid deployment, especially for micro-SaaS founders.
For those building more complex applications, you might consider using Google's Anti-Gravity, or the Cursor code editor, which allow for deeper code editing. However, many find that the "raw" design power of Gemini 3.0 Pro is best harnessed directly in AI Studio before being moved into a Product Requirements Document (PRD) framework. By following the templates provided by experts like Lenny Rachitsky, you can ensure that the beautiful UI generated by the AI is backed by solid product goals and user narratives. If your app involves influencer components, integrating a platform like Stormy AI early on can help you track post performance and manage creator relationships directly within your growth workflow.
The Future of AI-Driven Design
The conclusion is clear: we have exited the era where AI-generated designs were merely placeholders. With Gemini 3.0 for designers, the quality of the output is now limited only by the quality of the input. By leveraging reference images, mastering annotation tools, and embracing vibe designing, you can produce software that is not only functional but visually stunning. Whether you are building a personal brand site, a restaurant analytics dashboard, or a mobile fitness app, the tools to create high-end design are now accessible to anyone with an idea and the taste to execute it. Start playing with these tools today, get your hands dirty in Google AI Studio, and build something beautiful.